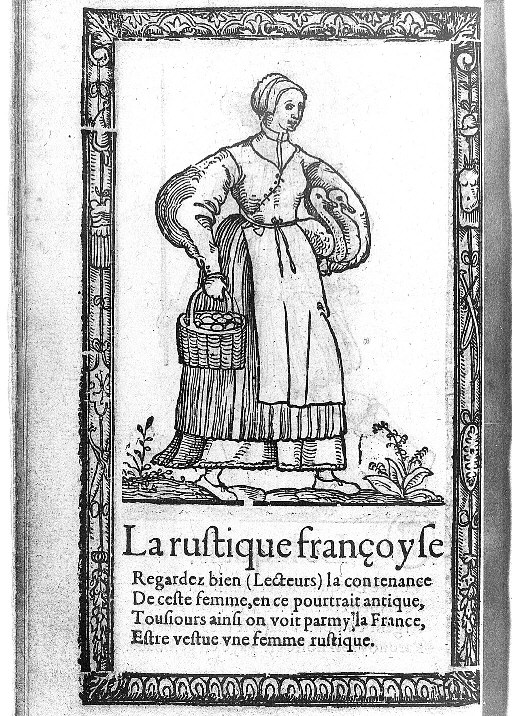
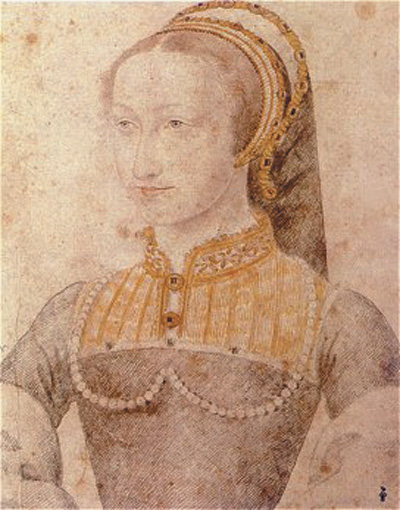
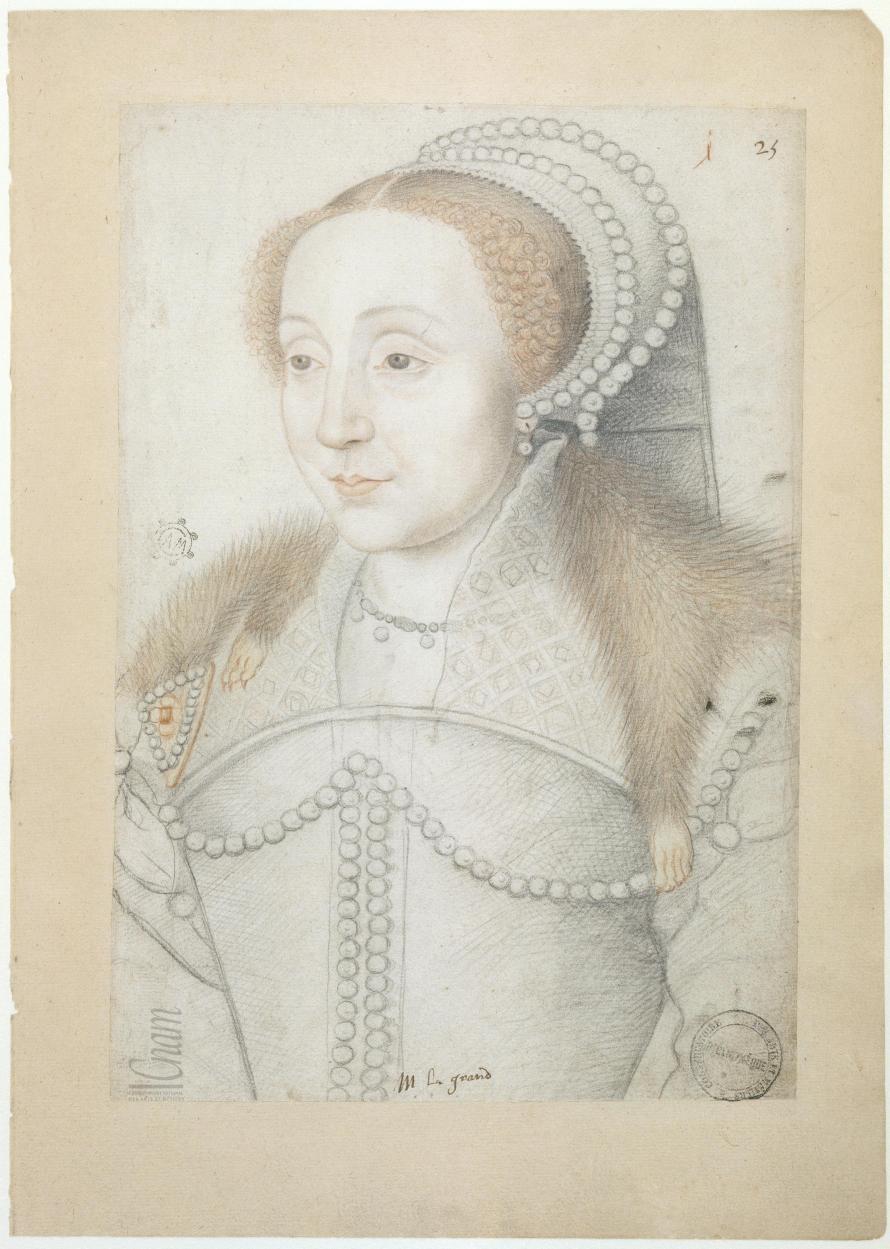
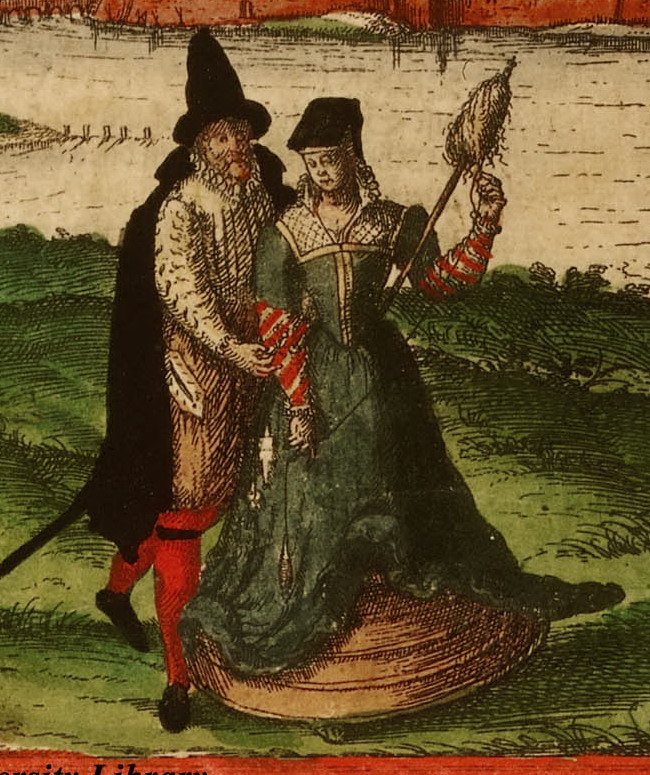
Prior to some camping events last year I set out to make a 16th century French outfit that was comfortable to wear and easy to get in or out of. The outfit was based on this image:
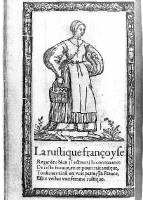
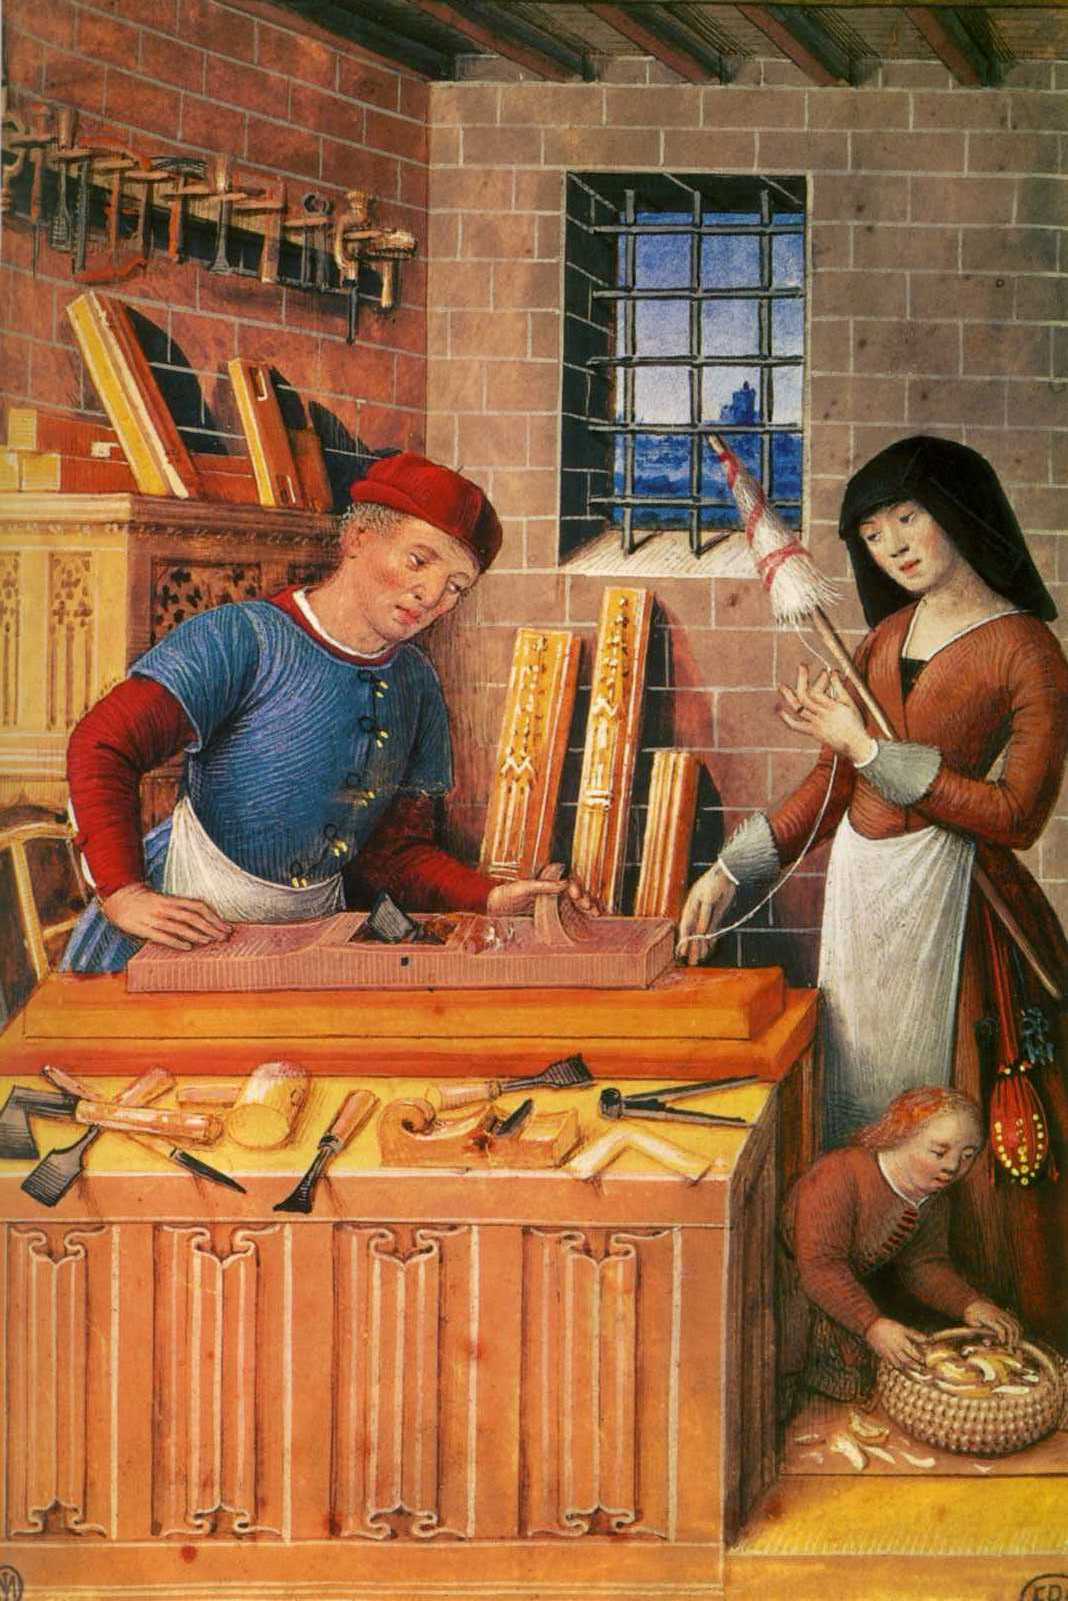
There are other cross-over type garments seen in French working class 16th century dress, so this is not a one off – eg. here is a first quarter of 16th century illumination, showing a working-class woman in a cross-over garment with set sleeves:
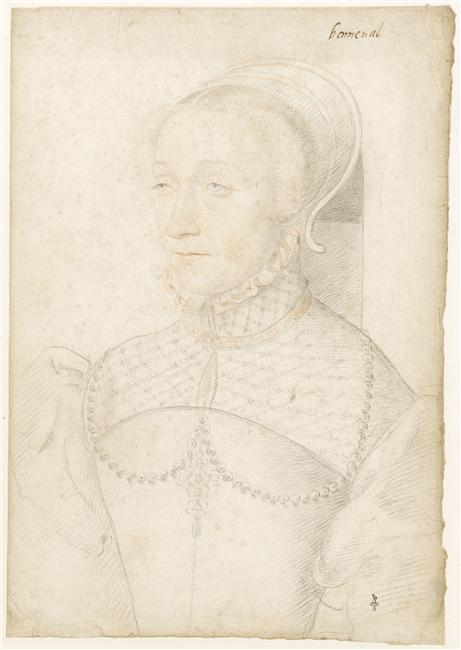
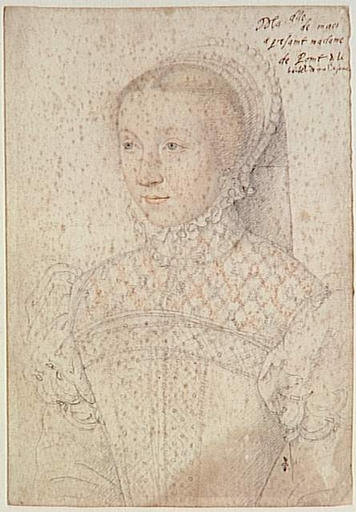
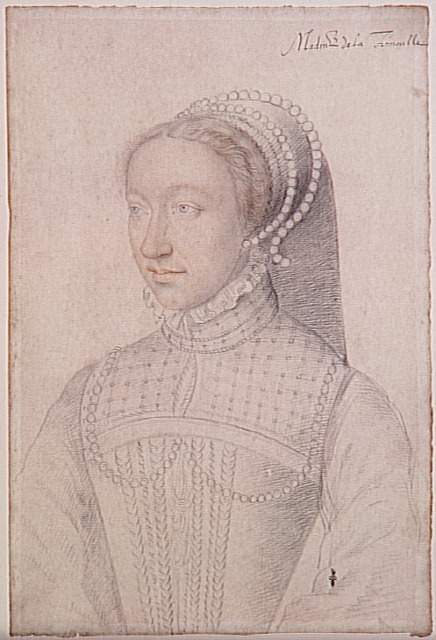
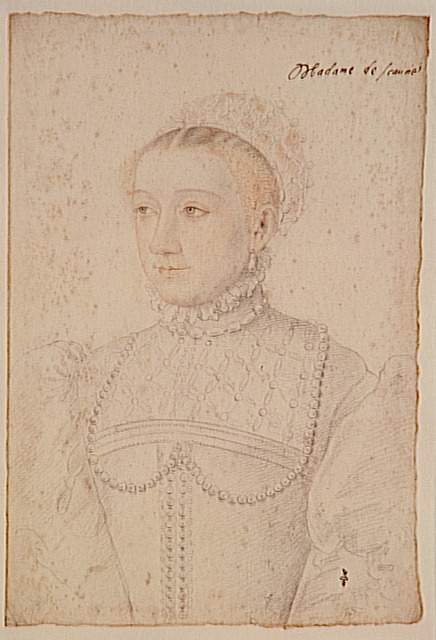
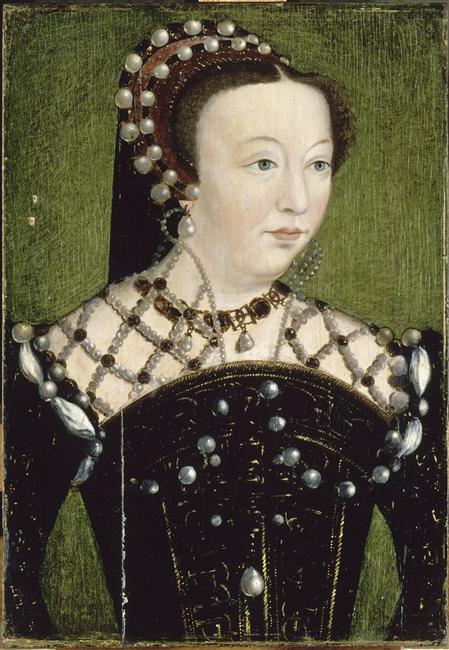
 In the fifteenth century garments with a cross-over front are not uncommonly worn by higher class women.
In the woodcut, the peasant woman is wearing three layers – chemise, dress and an overskirt. Plus of course accessories such as coif and apron.
From the image it is clear that this a work outfit – comfortable and practical. The skirts are short. The dress is unstiffened – you can see the outline of the woman’s breasts.
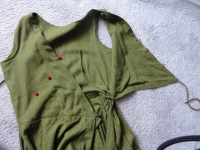
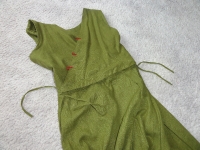
I made two dresses of this style – one of a cotton linen blend (with a cotton overskirt) and one of thin wool (with a wool-blend overskirt and detachable, lace-on sleeves)
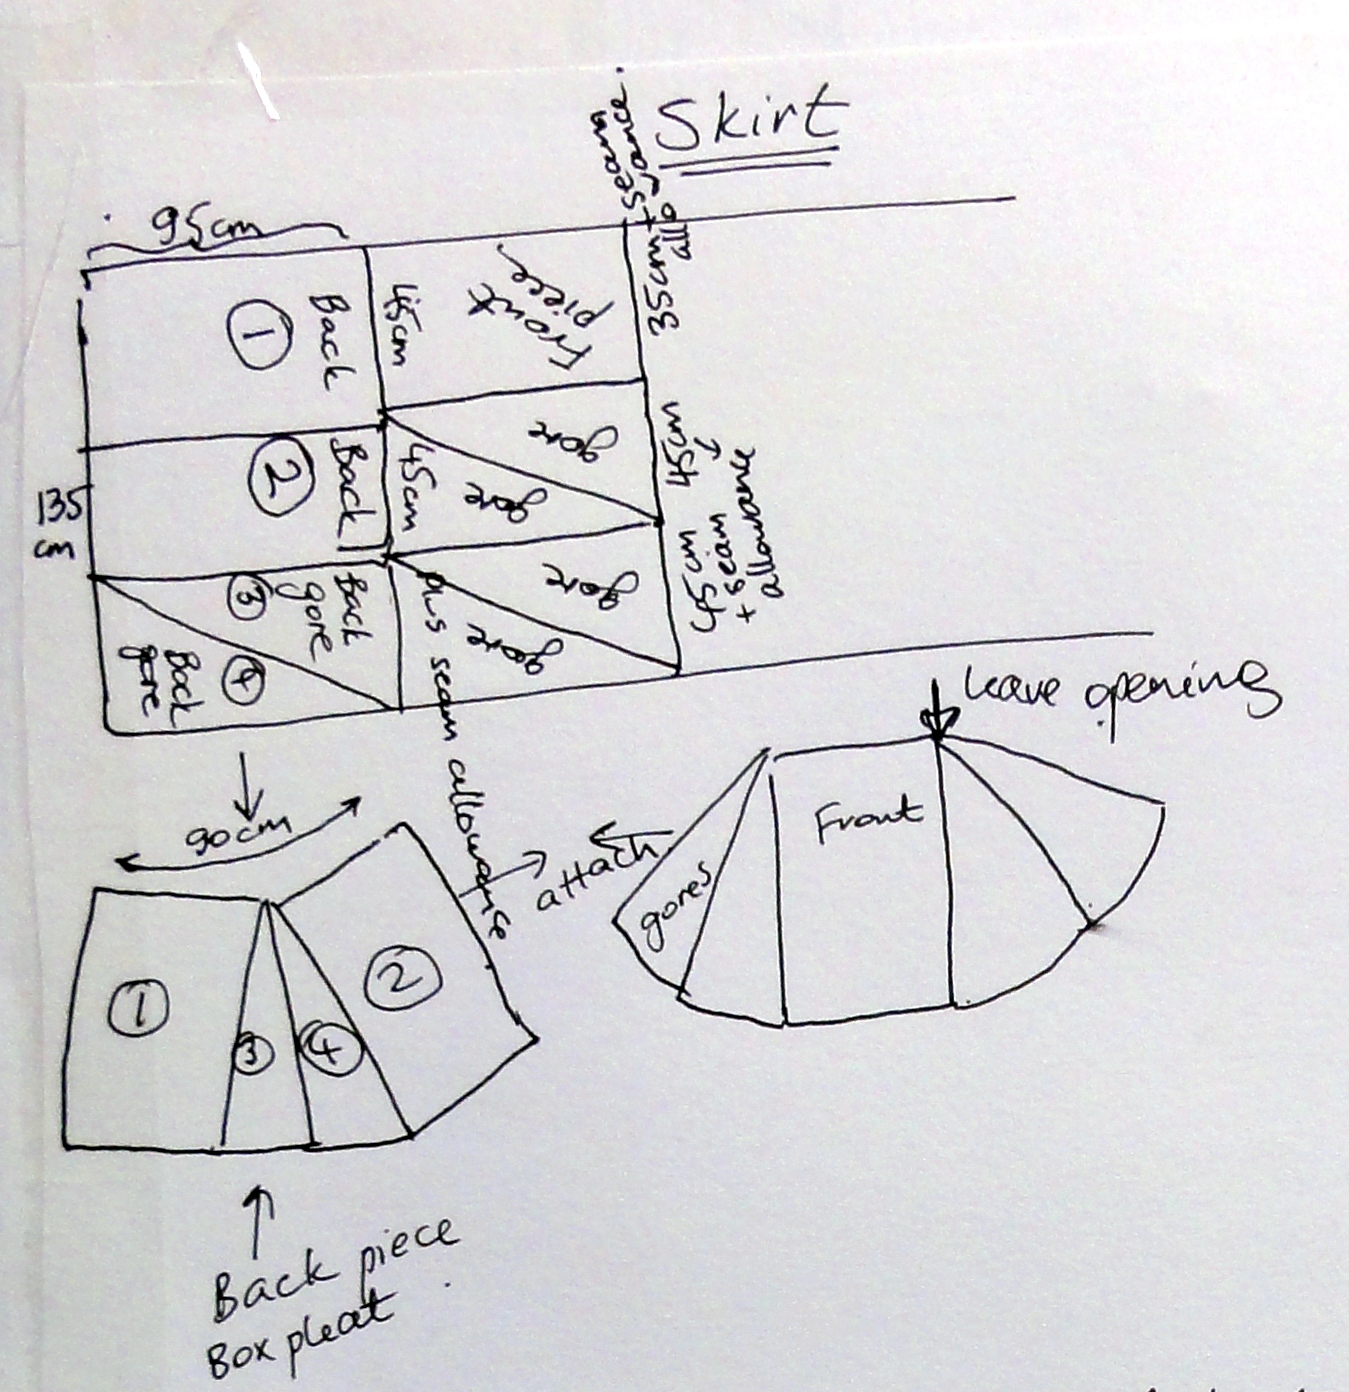
Pattern
This is the pattern I used for the dress (bodice and skirt)
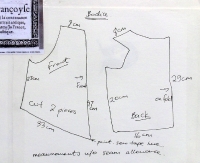
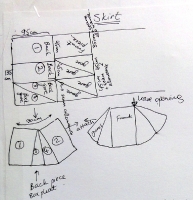
The measurements are for my size (yes, I’m that small!). Note that the side seam on the front piece says 23cm and on the back it says 20cm – that’s an error, they should be the same!
The pattern was arrived at by trial and error in order to achieve the look of the bodice and skirts that are full enough (for comfort) but economical in terms of fabric. Using the pattern above I was able to make the dress out of a little over 2m of 130cm wide fabric.
Please note that a pattern which worked for me is not necessarily a pattern that will work for everyone. Especially with the skirt cutting pattern – you should adapt it to your height, width, the width of your fabric and the sort of pleating you want. The whole pattern is conjecture on my part – don’t take it as gospel.
Note the somewhat strangely shaped arm-scythe on the back bodice piece – I this worked better for me with the postural/shoulder alignment issues than a smooth scythe. But a smooth curve is likely to work better for most people.
Sewing the dress together
Bodice
Because this was going to be camping garb, I cheated and bag-lined the bodice in the same fabric as the top fabric. I don’t think bag-lining is period, but here it made for a quick and easy bodice. So to make the bodice:
1. Cut the pieces in top fabric and lining (or all pieces in the same fabric).
2. Sew the shoulders and sides together on both top and lining pieces and iron the seams open
3. Pin right sides together and sew around, leaving a gap at the bottom just large enough to turn your bodice the right side out. Don’t sew around the armscythe or you won’t be able to turn your bodice – don’t ask how I know!
4. Trim seam allowances on corners, turn the bodice the right side out and iron down the seams
5. Fold the open bit at the bottom in, iron it down and sew it shut (you can do this by machine as it will be hidden when you attach the skirt).
6. Make some bias tape and face the armscythes
7. Sew a tie on both points of the bodice.
Some possible modifications you may like to adopt:
– it was pointed out to me that the cross-over bit of the bodice may stretch if both pieces are cut on the bias. It is not a problem for my body shape, but could certainly be an issue for women with larger bosom.
– I suggest cutting the top bit on the bias and the lining on the straight (or vice versa). Alternatively, sew some twill tape or similar reinforcement into the front seam of the bodice.
Skirt
1. Sew the skirt together as shown in the pattern and finish the seams (I cheated some more and overlocked the seams – camping garb and all). Don’t forget to leave a large side opening so you can get in and out of the dress.
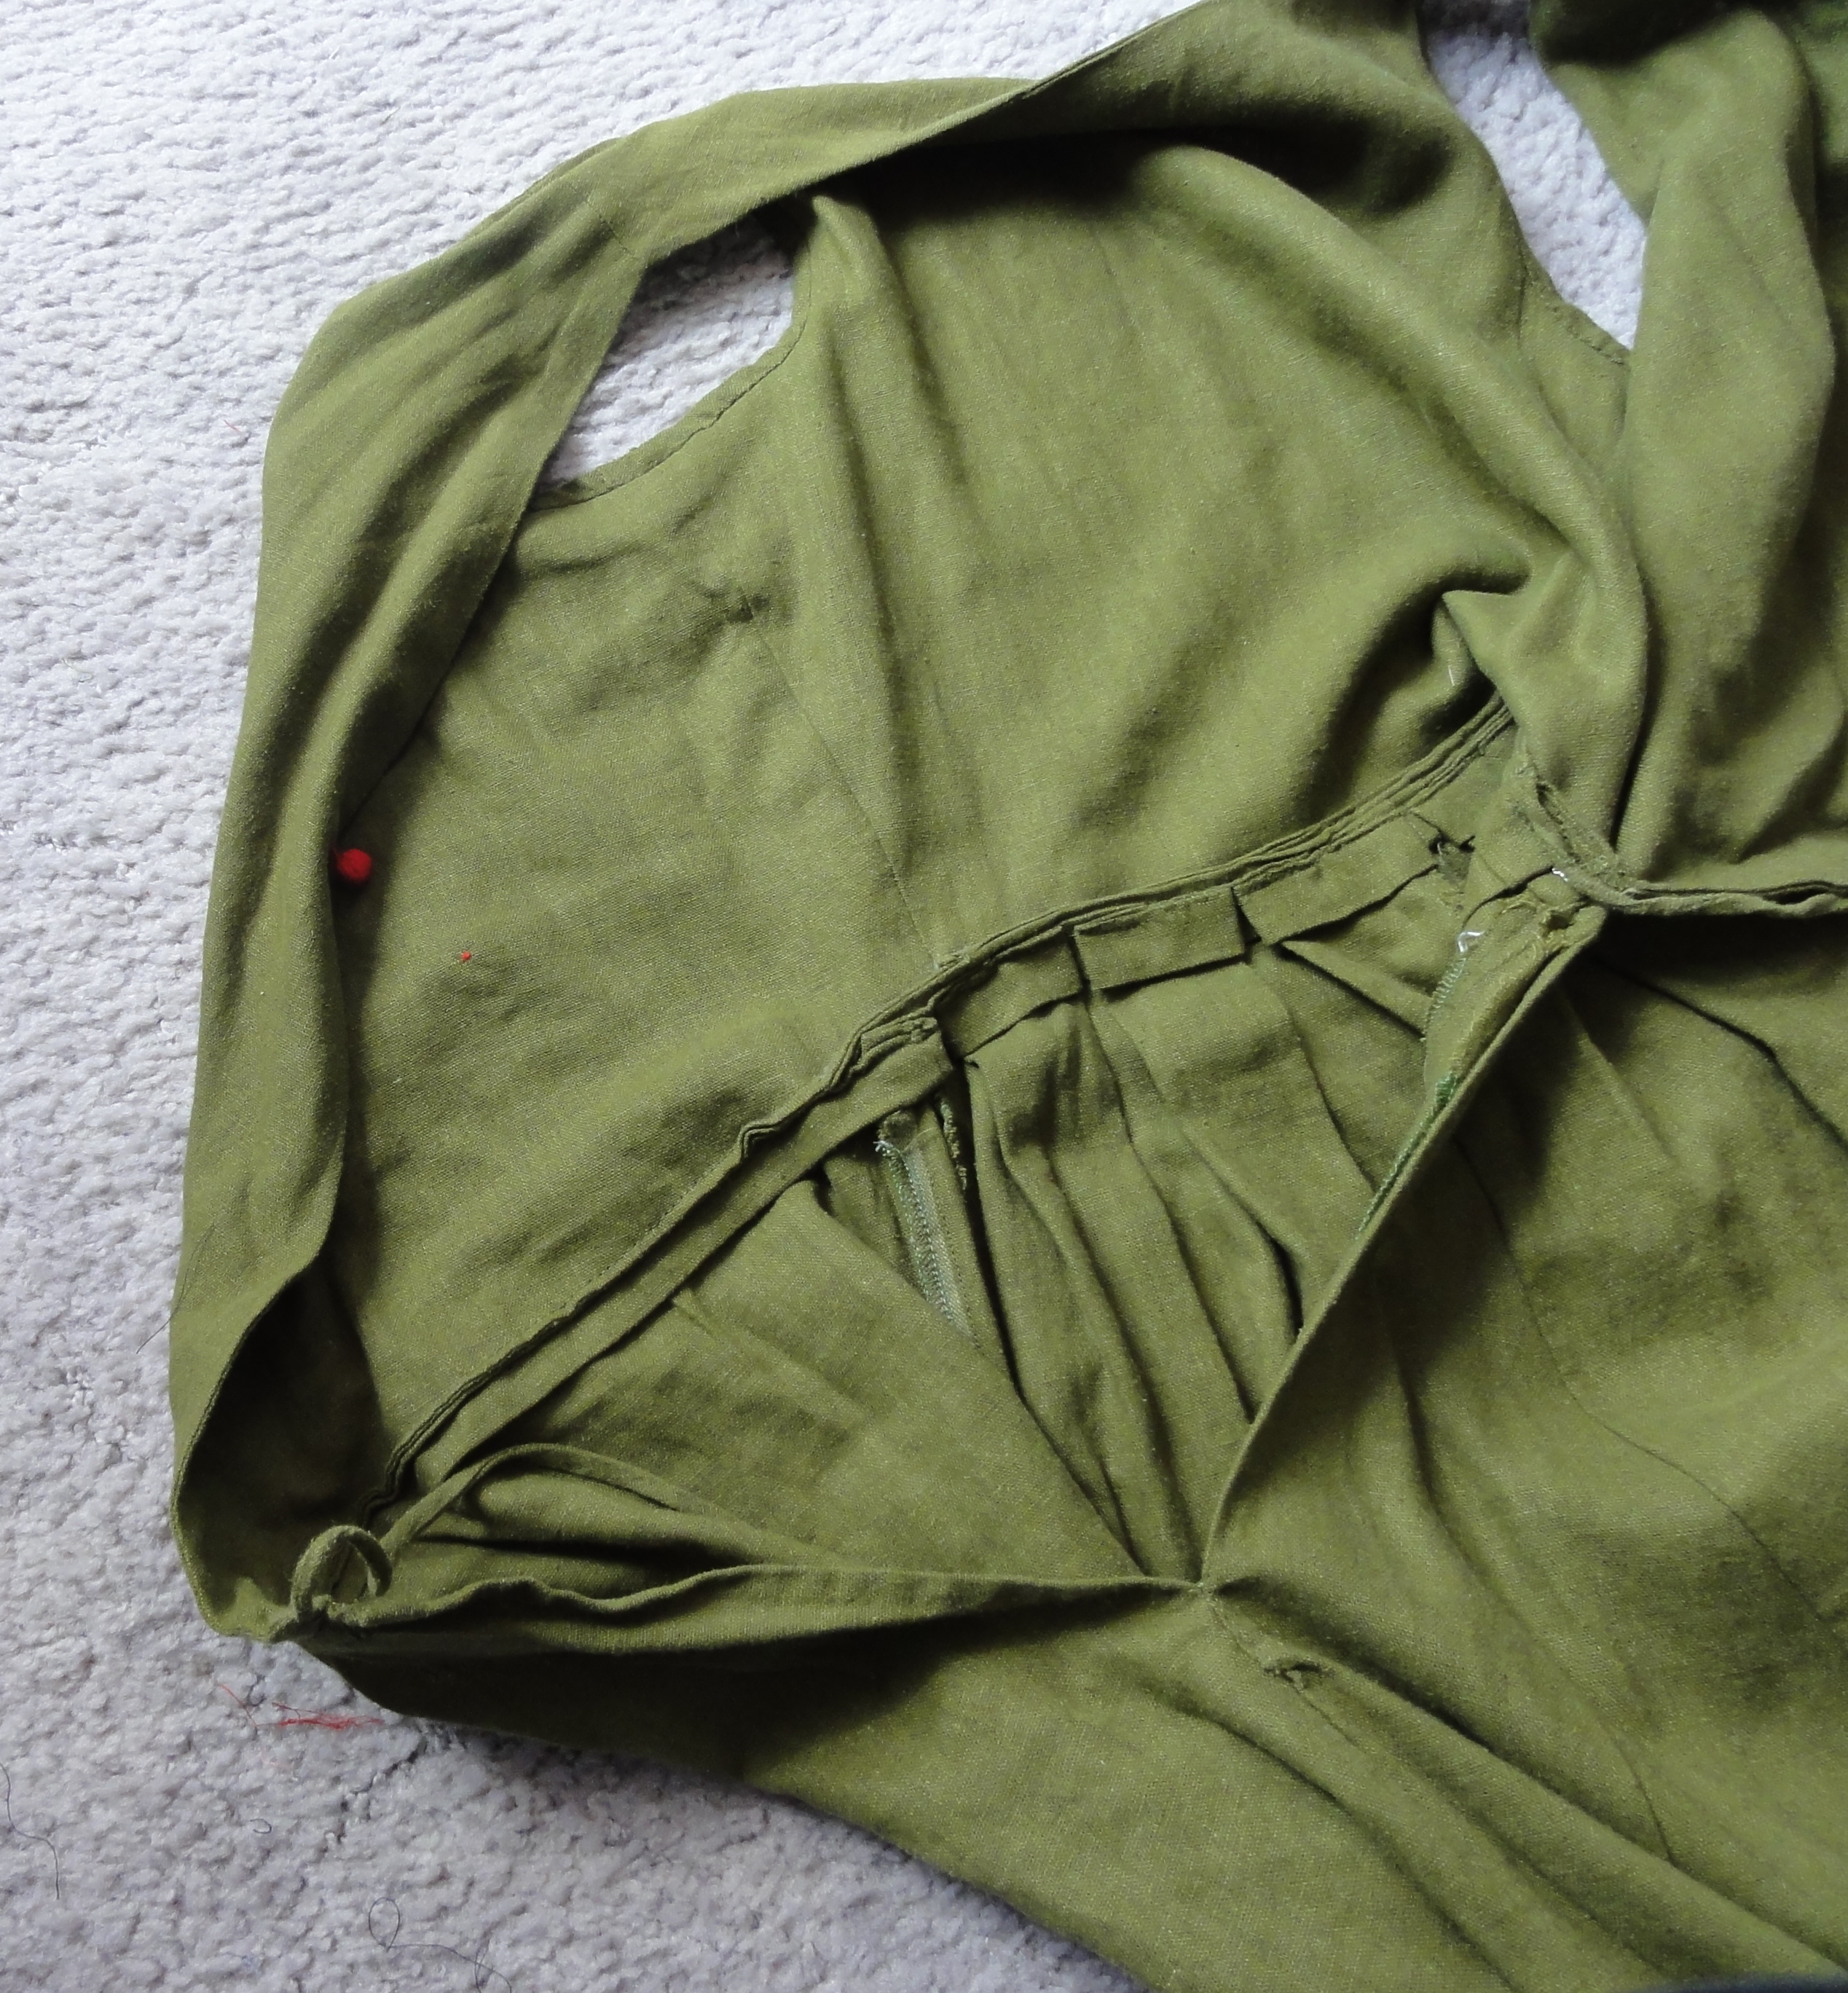
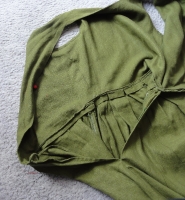
2. I left the front of the skirt unpleated and box-pleated the back part. I like box pleats, they sit well on me. Feel free to do the skirt your own way.
3. Sew the skirt onto the bodice (I did this by machine – it was thin enough).
4. Sew ties on both sides of the skirt, near side-seams, for tying the bodice close
5. Hem the skirt, make some bias tape and face the side opening of the skirt (or just hem it if you prefer).
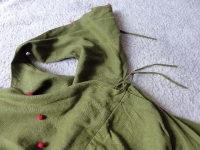
After you’ve put everything together, add buttons or ties to the front of your bodice. (I cannot tell from the picture what the fastenings are – I’ve made cloth “rabbit poo” buttons – they would have been cheap and easy to make out of scraps of cloth.
Make an over-skirt to complete your outfit. I like contrasting colours so I made a bright red overskirt to go with a green dress. Madder was cheap, so red is perfectly fine for a peasant garment.
Subsequent modifications through experimentation by Lady Jeanne Cheval
I always tied the dress so the part of the bodice attached to the skirt would sit underneath and the unattached part of the bodice would be on top, like so:
Lady Jeanne made this dress and then did what a wearer in period would have done – did some farm work in it. In doing so, she discovered that things get stuck under the unattached flap of the bodice. She solved this problem by reversing the order in which the bodice is tied – ie first tie the unattached front of the bodice to the inside of the skirt on the opposite side, then tie the bodice and the skirt that are sewn together to the outside of the skirt on the opposite side.
By doing this the front of the dress is whole and nothing will get stuck up the bodice.
Although the construction of the garment is conjectural, I think Lady Jeanne’s method is likely more correct than mine – a peasant woman would not have been wearing the dress in a way that caused problems when doing farm work. So I would suggest adopting that construction. Just make sure that the ties and buttons are in the correct locations for the different order of cross-over.
My thanks to Lady Jeanne for making and testing the garment in its native conditions.
Wearing suggestions
I suggest wearing the overskirt with the opening on the side opposite to the opening on the skirt of the under-dress (that way your chemise doesn’t show).
A winter version of this garment can also be made either with detachable or set-in sleeves.
It takes me about 30 seconds to get in or out of this dress, which makes it great for throwing on first thing in the morning. Amusingly, doing up the buttons takes the longest period of time. The wool version of this dress only has one button – which makes putting it on much faster.
Note that this dress does not offer any bust support. OK for small women, but larger ladies may need to have some sort of binding, modern brasserie or perhaps consider a different, more supportive garment.

Photo by Constanzia Moralez de Zamora, posted on facebook.